
Thermal Imaging Leak Detection for Real Repairs
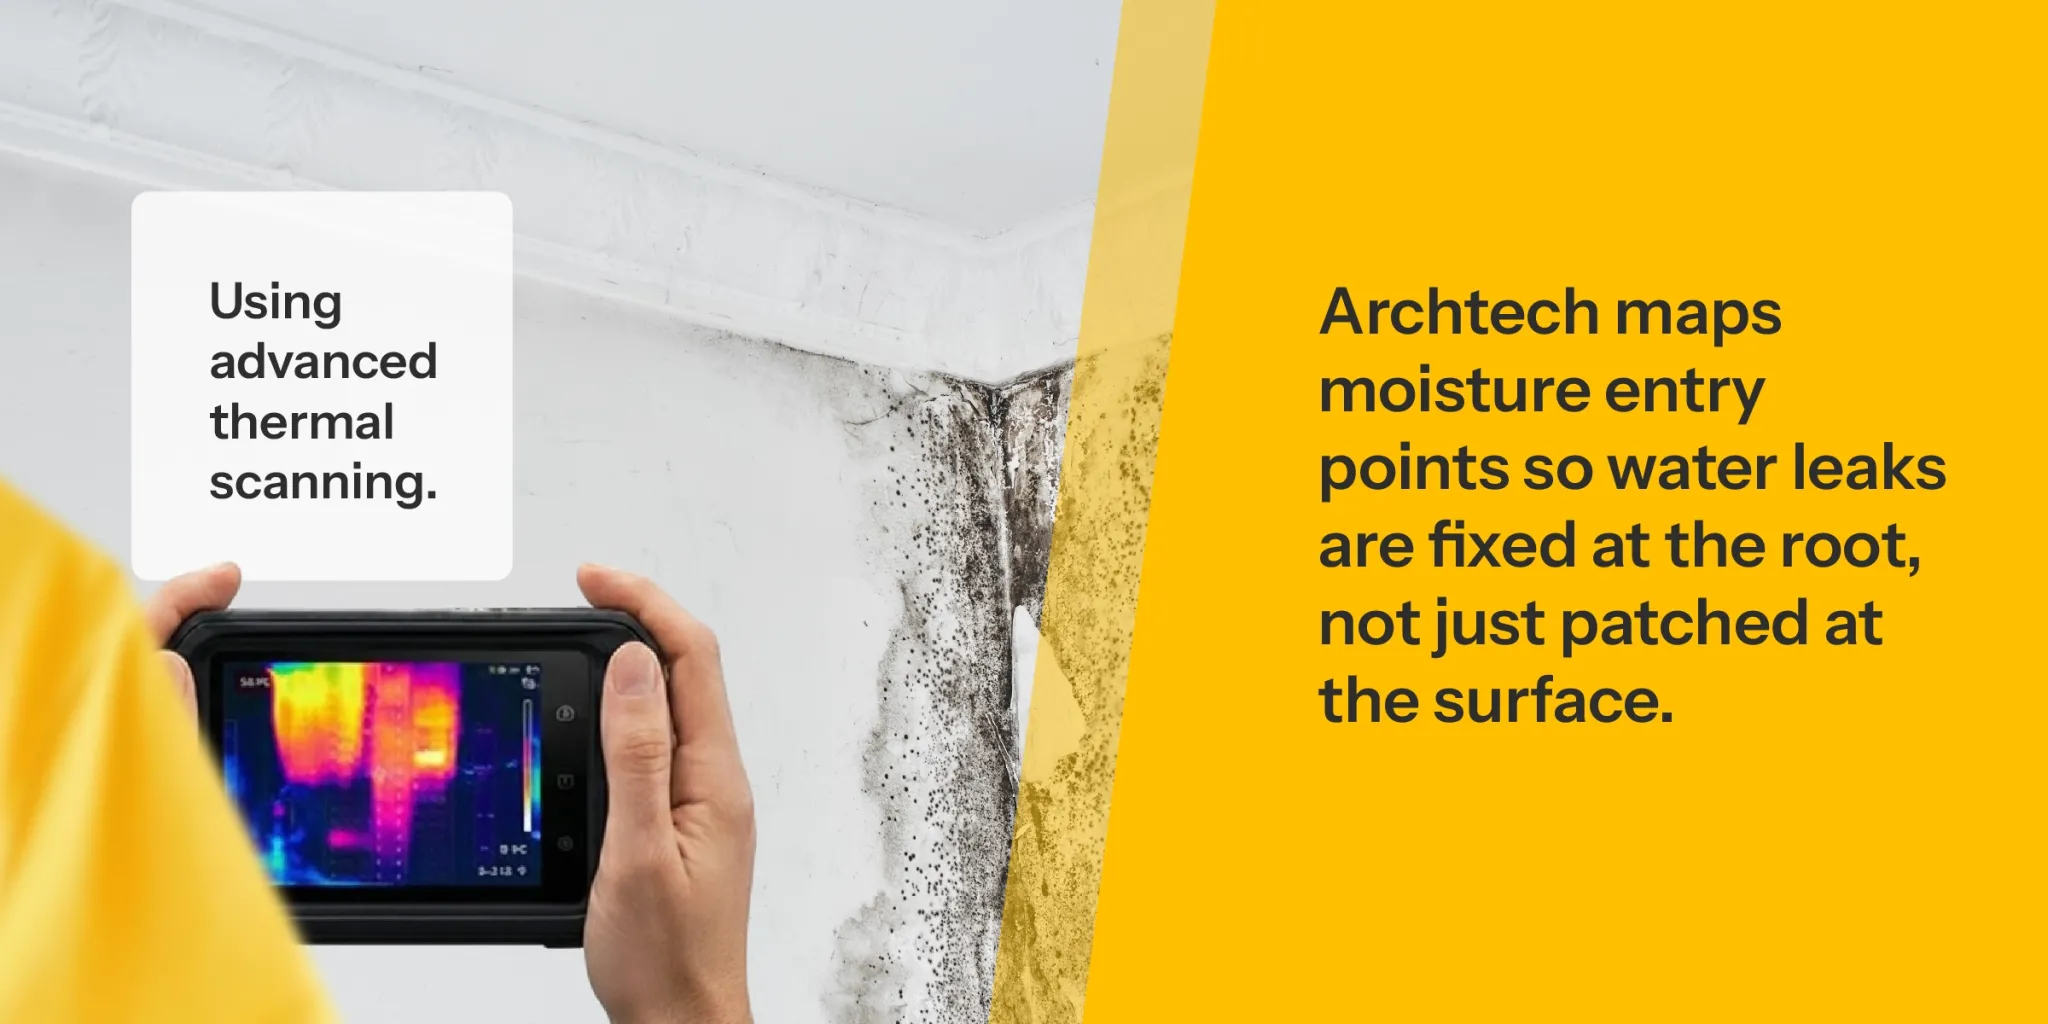
A ceiling stain below a flat roof rarely marks the point where rain entered. Water can travel along an RC slab, beam, conduit, or wall cavity before appearing indoors. Thermal imaging leak detection gives the inspection process a clearer starting point, helping identify abnormal temperature patterns that may point to trapped moisture and active water ingress.
For property owners, the value is straightforward: repair the source, not only the visible damage. That means fewer unnecessary hacking works, a more accurate waterproofing recommendation, and a better chance of stopping the problem for good.
What Thermal Imaging Leak Detection Shows
A thermal camera does not see water directly. It records surface temperature differences. When moisture evaporates, it can cool a surface. Wet materials may also retain heat or cool down at a different rate than dry surrounding areas. These differences create thermal patterns that a trained inspector can assess alongside visible building conditions.
On a sunny Malaysian afternoon, for example, a water-saturated section of a flat roof may respond to heat differently from a dry section. After rain or during a controlled water test, a concealed wet area behind a wall finish may appear cooler than adjacent surfaces. The image is useful because it can reveal where conditions change without opening every section of the building.
That does not mean every blue or red area on a thermal image is a leak. Air-conditioning pipes, electrical equipment, shaded surfaces, metal framing, and changes in material thickness can all affect temperature. Proper diagnosis depends on understanding the construction, weather conditions, recent rainfall, plumbing layout, and the pattern of damage inside the property.
Why Visible Stains Are Not Enough
Many repeat leak repairs begin with an assumption. A contractor sees peeling paint below a bathroom and reseals the floor tiles. Or they find dampness near a window and apply sealant around the frame. Sometimes that solves the issue. Often, the water is entering from a failed waterproofing layer, a cracked external wall, an unsealed pipe penetration, or a roof joint several feet away.
Water follows the easiest path. On concrete structures, it can move through fine cracks, construction joints, porous areas, and service penetrations. On metal roofs, water may enter through deteriorated fasteners, overlapping sheets, flashing details, gutters, or ridge connections. On balconies, failed tile grout is not always the main problem – the membrane beneath the finish may have deteriorated.
Thermal imaging helps reduce this guesswork. It allows the inspector to compare affected and unaffected zones, trace the likely direction of moisture movement, and decide where further testing is justified. It is particularly valuable where the leak is intermittent, where finishes are expensive to remove, or where several potential entry points exist.
When a Thermal Inspection Is Most Useful
Thermal inspection is not a replacement for site experience. It is a diagnostic tool that becomes more useful in the right conditions and when combined with physical checks. It can help investigate persistent leaks in several common building areas:
- RC slab and flat roof seepage, especially where ponding water or failed membrane is suspected
- Hidden bathroom or toilet leaks affecting the ceiling below
- Balcony, car porch, and external wall water ingress after heavy rain
- Commercial kitchen leaks around floor drains, wet areas, and service penetrations
- Metal roof leaks around flashings, screws, laps, skylights, and gutters
- Damp patches in concrete walls, columns, or ceilings where the travel path is unclear
For facilities managers, this can be especially helpful in occupied premises. A targeted investigation may limit disruption to tenant spaces, kitchen operations, offices, or production areas. The trade-off is that thermal images need suitable temperature contrast. If conditions are too uniform, if a surface is heavily insulated, or if moisture is deep within a structure, the camera may not provide a clear result on its own.
A Proper Leak Diagnosis Uses More Than One Test
Reliable repair decisions should not be based on a single image. An experienced inspection combines thermal findings with moisture readings, visual checks, targeted water tests, roof and drainage assessment, crack mapping, and knowledge of the building’s waterproofing history.
The inspection should begin with questions: When does the leak occur? Is it only after wind-driven rain, after using a shower, or during long periods of rainfall? Has the roof been recoated before? Were tiles, air-conditioning units, solar panels, or new pipework installed near the affected area? These details can quickly separate a plumbing issue from rainwater ingress.
Next, the building exterior and interior need to be read as one system. A ceiling stain may relate to a defect at a parapet wall, while a wall stain may be caused by a failed roof coping. On a toilet floor, leaking water may pass through a failed membrane around a pipe sleeve and emerge in the room below. Thermal imaging can guide the investigation, but a water test or localized opening may still be needed to confirm the exact failure point.
This is the difference between a technical diagnosis and a temporary patch. The goal is not to find the first damp area. It is to identify the failure mechanism and specify a repair system suited to that surface and exposure.
From Detection to the Right Waterproofing System
Once the source is confirmed, the repair method depends on the substrate, accessibility, movement, ponding risk, and expected traffic. There is no single waterproofing product that suits every leak.
A flat RC roof with widespread membrane failure may require removal of defective layers, substrate repair, and a new torch-on membrane, TPO membrane, polyurethane coating, or liquid membrane system. The correct choice depends on roof details, drainage, UV exposure, and whether the surface will be walked on for maintenance.
A localized crack in a concrete slab or wall may require PU injection to stop active water ingress within the structure. For bathrooms, balconies, and wet areas, a cementitious or liquid-applied membrane may be appropriate after the substrate has been properly prepared. Metal roofs usually need detail-focused work around laps, fasteners, flashings, and penetrations rather than a generic coating over the entire roof.
Preparation matters as much as material selection. Loose coatings, failed sealant, contaminated surfaces, standing water, and unrepaired cracks can compromise a new system. A durable repair starts with sound substrate conditions, correct detailing at joints and penetrations, and controlled application thickness.
What to Expect From a Clear Inspection Process
A dependable contractor should explain what the inspection found, what remains uncertain, and how the proposed repair addresses the root cause. Thermal images can be useful supporting evidence, but they should be translated into plain language: where moisture is likely present, where it may be entering, and what confirmation work is recommended.
At ARCHTECH, thermal inspection is used as part of a practical diagnosis before recommending a waterproofing system. The aim is to avoid broad, unnecessary work while also avoiding undersized repairs that only cover a symptom. A clear quotation should identify the repair area, preparation works, chosen system, and expected scope so property owners can make an informed decision.
Be cautious of proposals that promise to solve every leak with the same coating, sealant, or injection method. A low initial price can become expensive if the actual entry point remains untreated and interior damage returns after the next heavy rain.
Act Before Moisture Becomes Structural Damage
A musty smell, blistering paint, dark ceiling marks, loose tiles, or repeated leaks after rainfall should be inspected early. Moisture left inside a building can damage finishes, encourage mold growth, corrode metal components, weaken ceiling boards, and gradually affect concrete around embedded steel.
Take clear photos or videos when the leak appears, note the weather or activity that triggered it, and keep records of previous repairs. Those details can make a site inspection faster and more accurate. When the cause is hidden, thermal imaging leak detection can provide the evidence needed to move from repeated patching to a repair that protects the building for the long term.
About ARCHTECH Waterproofing Specialist
With over 10 years of expertise, ARCHTECH delivers precise, long-lasting waterproofing solutions for residential, commercial, industrial, and institutional buildings.
By combining accurate site assessment, certified professional-grade materials, and trained in-house specialists, ARCHTECH ensures durable waterproofing performance designed to stand the test of time.
Request a waterproofing assessment from ARCHTECH. ARCHTECH provides waterproofing solutions for balconies, flat roofs, slab roofs, metal roofs, bathrooms, car porches, external walls, concrete repair, wet kitchen and other areas in residential, commercial, and industrial properties.
Can’t Describe the Leak? Just Show Us.
Send a photo or video of your leak, and let our waterproofing specialist assess the situation so you don’t spend on wrong repairs.
Need Waterproofing Help?
Tell us what you’re facing, whether it’s a leak, damp smell, mould stain or bubbling paint. Our team will review your case and get back to you with a personalised solution and quotation.